Monday, April 20, 2009

Deconstructed Hummus

Okay, my goal was to post here three times a month at the LEAST, but I think that I've been pretty bad at keeping my promise to do that.

But to be fair, I've been busy! R's sister AND brother both had babies last month and since his sister lives in Calgary and had a baby boy, we flew to Calgary for thebris. Happily for us, the bris was a day before Passover, so we got to spend Passover with all of R's family and extended family. Sadly for any readers I may have out there, that means that I didn't make anything for Passover and thus have no tasty Passover recipes to share.

Let me tell you though: I love Passover seders. I love chicken soup with matzoh balls and I looooove horseradish on matzoh. And of course I love brisket. Who doesn't? And this year I had some absolutely addictive chocolate toffee matzoh, which I will definitely post a recipe for next year. The bread of affliction has never been so delicious!

Anyway, I feel guilty for my neglect lately. So while I can't share any Passover recipes, I will share this snack that I like to make when I'm too busy to make a real lunch. It's like hummus, except that there's no fatty tahina (sesame oil) and there's no need to find pita for dipping. All you need is a fork!


Deconstructed Hummus

Ingredients:
1 can of chickpeas, drained
1 tsp olive oil
1/2 tsp lemon juice
2 tsp parmesan cheese (not all parmesan cheeses are certified kosher, but it is possible to find ones that are)
1 clove of garlic, pressed (or garlic salt if you're in a real hurry)
shake of salt
shake of pepper

Method:
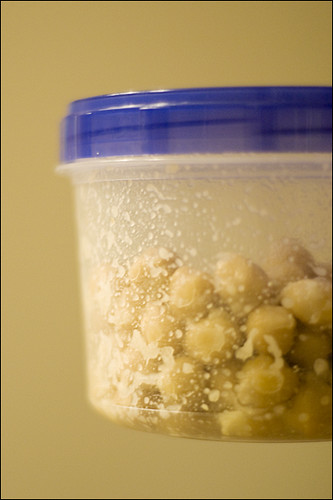
Combine all ingredients in a tupperware container. Shake it up. Eat it at room temperature. That's it!


Friday, April 3, 2009

The calendar might say that it's spring..


It still feels like winter in most of Canada. R and I have both been sick with something lately, so I whipped up a batch of my favourite soup. It has two advantages: It freezes will so it can be made in big batches, and you can add just about any vegetable that you have hanging around in your fridge. So if you have some sad looking produce in your crisper, this recipe will give it a good home.

It has morphed beyond all recognition from its original form and now I just toss everything I can find into the pot. I started out using a recipe by Pam Reiss, whose book Soup - A Kosher Collection has a funny personal story behind it. I bought the book one day on a whim because I loved the photos and I was just beginning my love affair with Jewish and kosher food. I brought it home and browsed through it, then left it on the dining room table. R came home and looked at it and said, "Where did you get this!?" I thought that he was just shocked that I was investigating kosher cooking, but it turns out that he knows Pam, the author! They went to school together in Winnipeg where she nows runs a kosher grocery store called Desserts Plus. I got to meet her at a wedding last October and she was incredibly nice. If you're looking for a good soup book I would recommend that you go out and get this book! What I love about it is that it's divided into Dairy, Parve and Meat recipes, and on each page it tells you whether or not the recipe freezes well. It's very helpful.

Anyway. You just want to know how to make this soup, don't you?


Beef Barley Veggie Soup
adapted from Soup - A Kosher Collection

Ingredients:
2 soup bones (if you can't find kosher soup bones you can leave this out)
1 lb stewing beef
8-10 cups of water
1 can whole plum tomatoes
1 onion, peeled and diced
2 carrots, washed and diced
2 parsnips, washed and diced
2 potatoes, washed and diced
1 can of red kidney beans
3/4 cup barley
2 tbsp dried oregano
2 tbsp dried thyme
2 tbsp soy sauce

Method:
1. Cut the stewing beef into 2 inch cubes (or something close to that) and place them in the pot of water. Bring the water to a boil.

2. When it begins to boil you'll notice some icky brown foam rising to the top. Strain it off. You'll have to continue to do this for about 10 minutes. When most of the foam is gone and no more is rising to the top, you can add the rest of your ingredients.

3. Simmer over low heat for at least 2 hours, longer if desired.

Note: Remember that you can add just about anything to this recipe! I've added yams, corn, chick peas, garlic, celery, pasta... And don't forget to freeze half of it. It tastes just as good reheated!