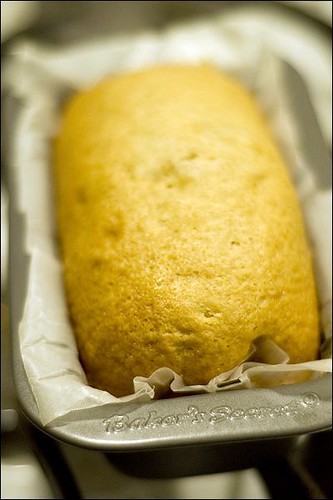
I've been putting this off for quite some time, but Rosh Hashanah is fast approaching and it's time to share one of my favourite recipes of all time: My mom's apple pie.
This may not be the most beautiful pie, and it may not be the world's most unique recipe, but I love it. This is the pie that I ate every Sunday night as a kid, along with a cup of decaf earl gray tea (my tea habit started young), while watching America's Funniest Home Videos (Bob Saget era) with my family. There are few foods in the world that are more comforting for me to make and eat. When I have a family, this will definitely be a regular fixture at our Rosh Hashanah dinner table.
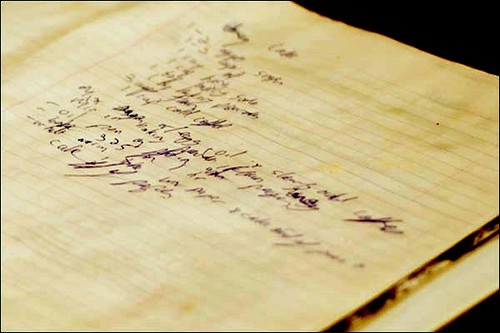
When I first moved away from home, I used to make this pie as an excuse to call my mom to ask her for the recipe. I never wrote it down. There were so few ingredients and quite a large margin for error. I always thought that I'd be able to remember it. But I never did. Finally, after 2 years of calling to ask for the recipe on a monthly basis, she begged me to write it down:
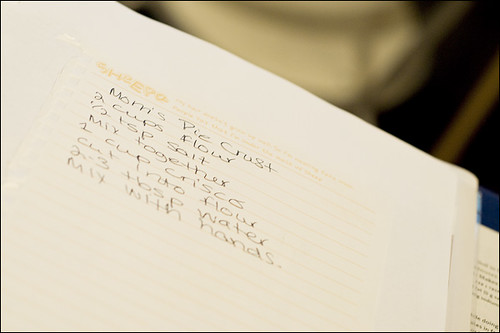
(My hand writing is quite a bit nicer than R's, isn't it?)
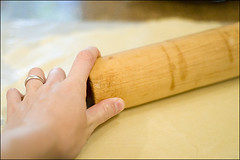
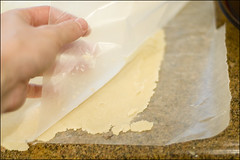
It really is that easy to make this pie crust. And I'm about to show you one of the best tricks I've ever learned in the kitchen: You can avoid a lot of mess by rolling your pie dough between two sheets of waxed paper.
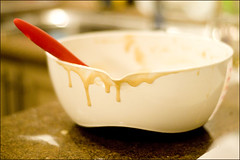
Now, when we start to talk about filling things get a bit foggy. I don't think that my mom ever had a written down recipe for pie filling and I know that I don't. I know the basic ingredients and I usually just toss them all in the bowl together and taste bits of apple as I go along, adding ingredients until it tastes right.
But for you, I've written down some measurements.
So here we go.
Sandi's apple pie:
Ingredients:
Crust:
2 cups all purpose flour
1/2 tsp salt
1 cup Crisco
2-3 tbsp cold water
Filling:
5 apples, whatever is in season. (I used Macintosh)
1 tbsp lemon juice
1 cup brown sugar
1/4 cup white sugar
1/4 cup honey
2 tablespoons flour
1/2 tsp ground cinnamon
1/2 tsp ground cloves
1/4 tsp ground nutmeg
Method:
1. In a large bowl, mix together the flour and salt for the crust.
2. Add 1 cup of Crisco, cut in with pastry cutter.
3. Add 2 tbsp of cold water, mix with hands. If the dough is still crumbly after kneading 6 times, add 1 more tbsp of water.
4. Divide dough into 2 balls and set aside.
5. Preheat oven to 400F.
6. Peel and slice apples into 1x1 inch cubes.
7. In a bowl, mix apples with lemon juice. Add remaining ingredients. Mix well. Set aside.
8. Between two pieces of waxed paper, roll out one of the two balls of dough created in step 4.
9. Carefully remove paper from one side, place paperless side down into a greased pie dish. Remove paper from other side.
10. Spoon filling into pie.
11. Between two pieces of waxed paper, roll out the other ball of dough. Carefully remove waxed paper from one side, then place paperless side down on top of filled pie. Remove paper from other side.
12. Trim remaining dough from edges, then press edges together with a fork.
13. Poke holes in the top of the pastry to allow air to vent during baking. This will keep your pie from bubbling over.
14. Place in oven for 50-60 minutes or until filling is bubbling slightly and crust is golden brown.
15. Remove from oven and cool for at least 20 minutes before serving.


Conveniently, my mom's pie crust recipe is made with Crisco, which is parve! I do tend to bake with butter, so many of my favourite deserts are dairy based. However, both this recipe and the honey cake that I posted last week are parve, so you can bring them to any dinner knowing that they'll be welcome additions to the table.
That's all from me until after the High Holidays, so L'shanah tovah - to a sweet new year.

That's all from me until after the High Holidays, so L'shanah tovah - to a sweet new year.